
Effective Ways to Sew a Button: A Practical Guide for 2025
Sewing a button might seem like a simple task, yet it is an essential skill every sewing enthusiast should master. Whether you’re repairing a loose button on your favorite shirt or adding a decorative touch to a handmade item, the right button sewing techniques can make all the difference. In this comprehensive guide, we will explore various methods of sewing buttons, including hand sewing and machine sewing, while offering tips and tricks to ensure your buttons remain securely attached for years to come.
As we dive deeper, you’ll learn about essential sewing supplies, best practices for button placement, and how to select the right thread and needle for your projects. With a blend of practical advice, expert insights, and a nod to the latest trends in sewing, this guide aims to make your button sewing endeavors both effective and enjoyable.
Key takeaways from this article will include an understanding of different button styles, the importance of thread types, and quick sewing hacks that cater to both beginners and seasoned sewists alike. By the end of this guide, you’ll have a solid foundation for sewing buttons perfectly and neatly. Let’s get started!
Essential Techniques for Hand Sewing Buttons
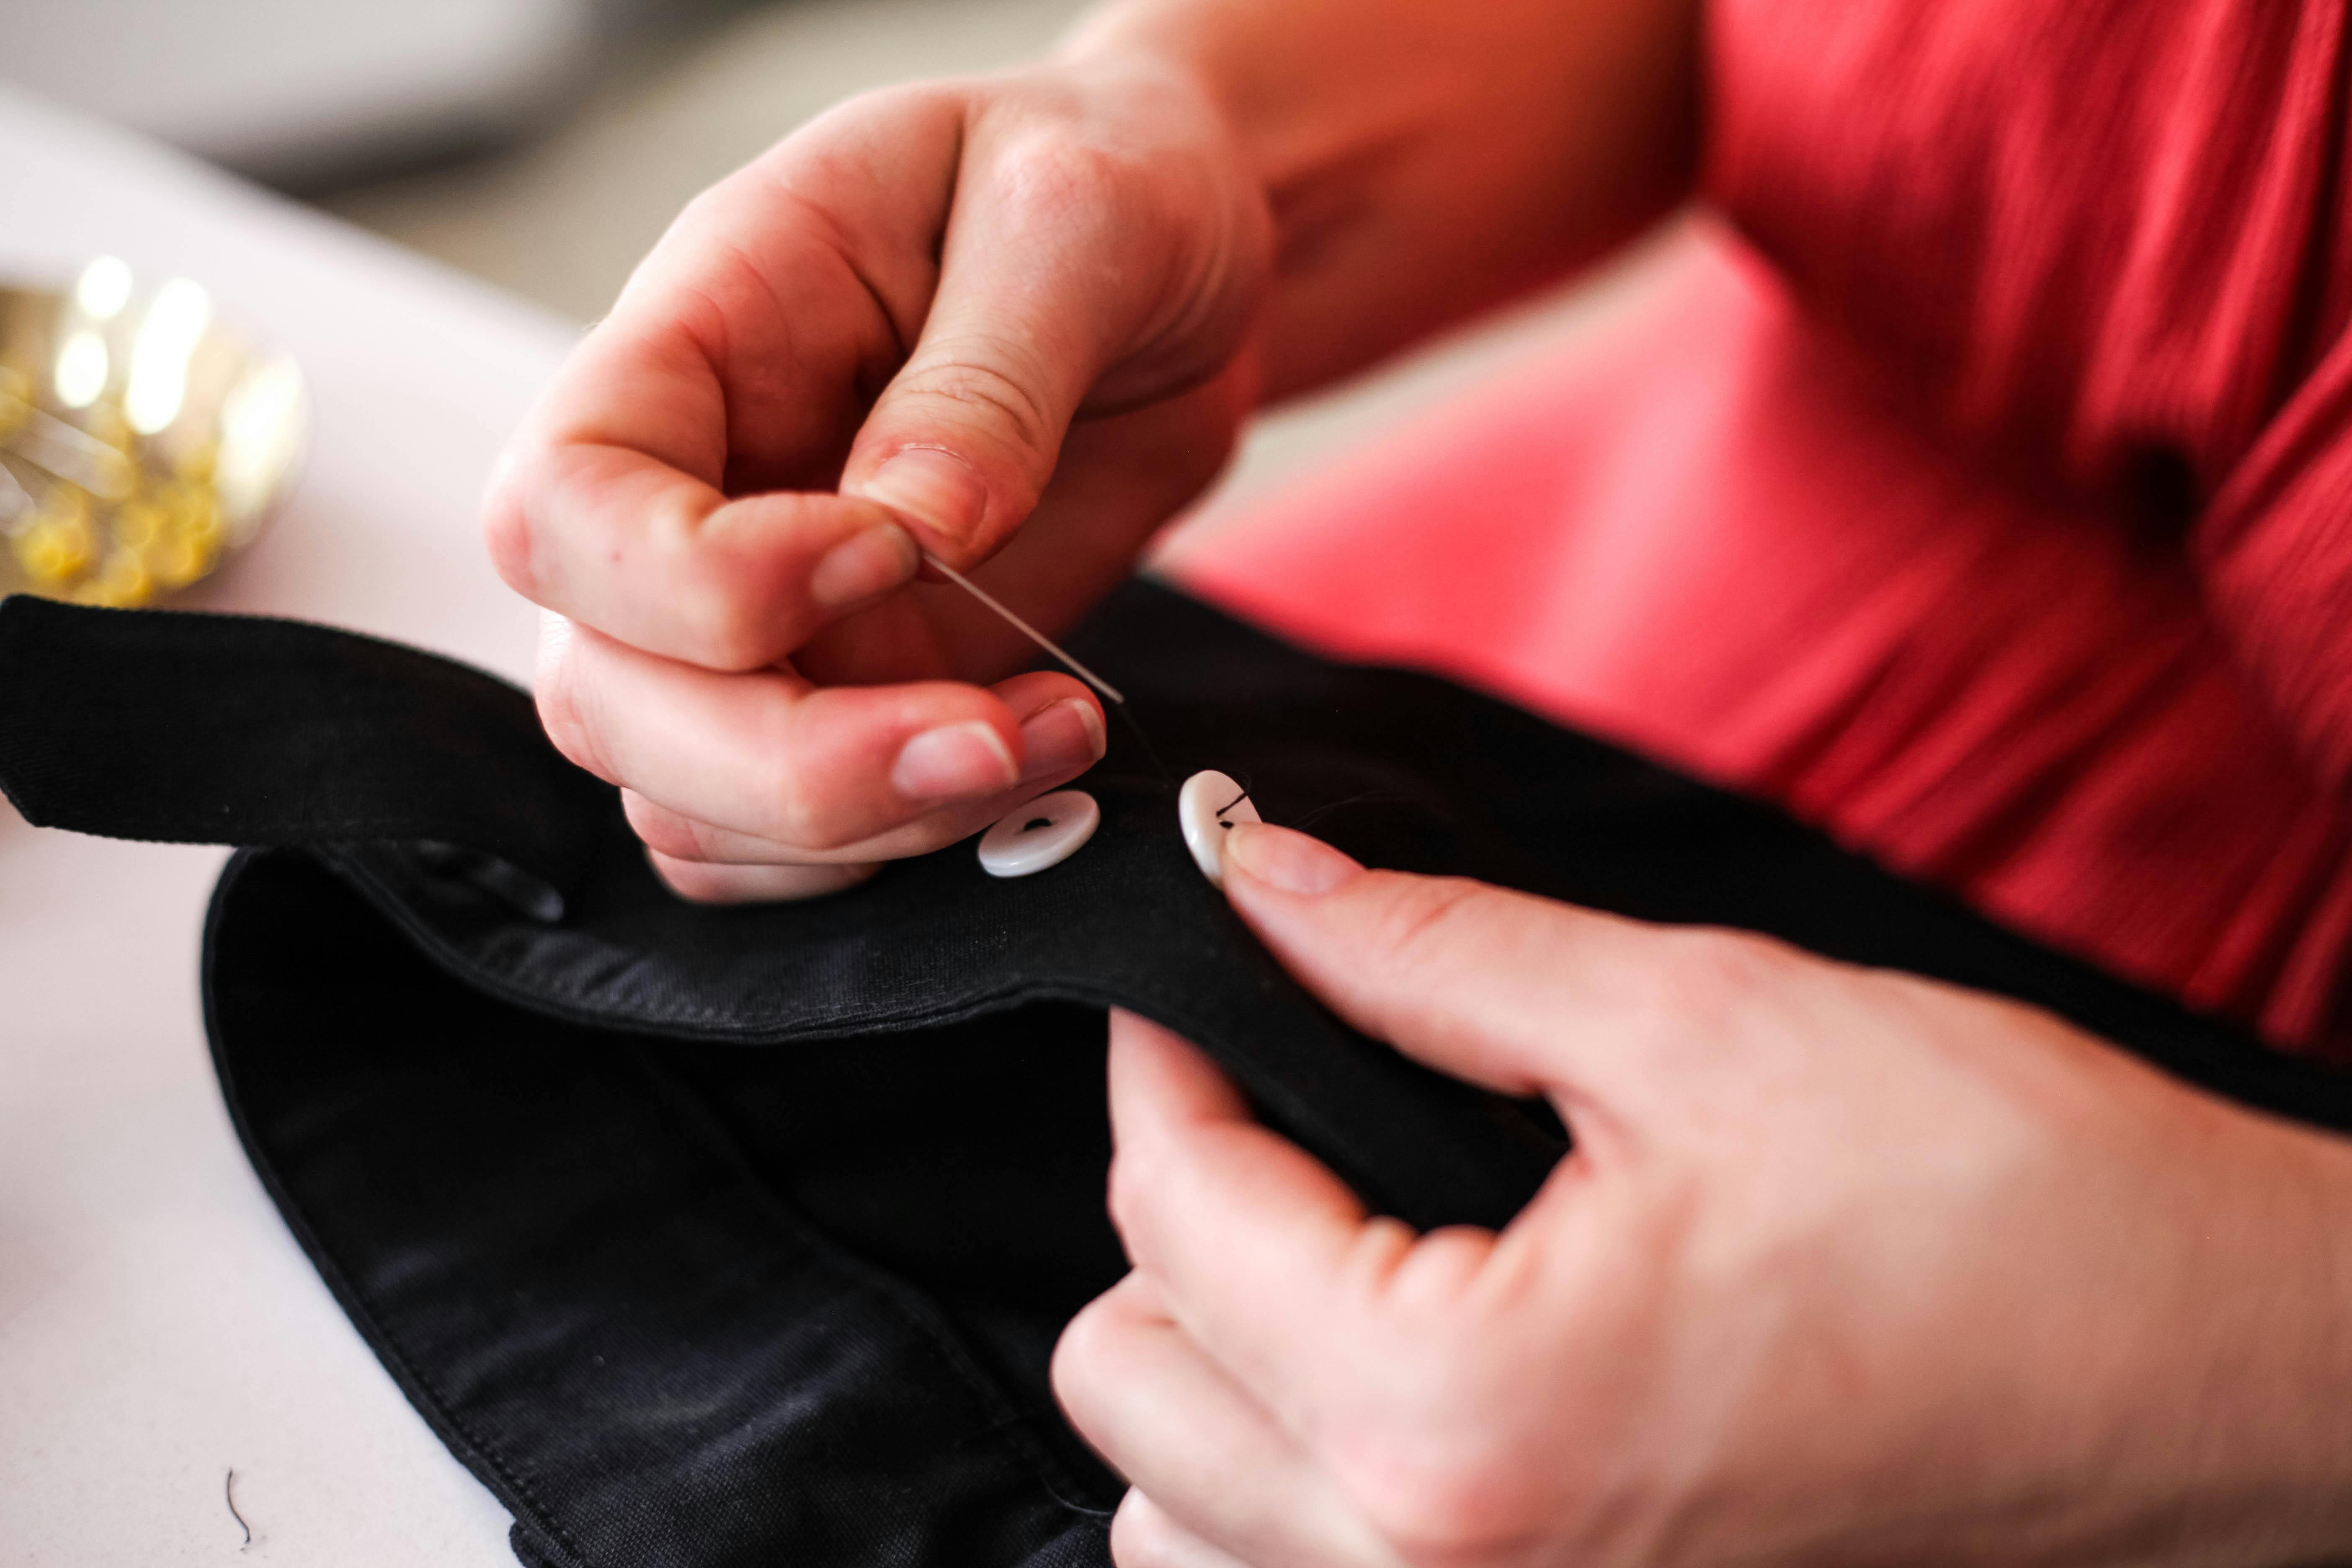
Mastering hand sewing is crucial for effectively attaching buttons. This section will focus on the fundamental techniques required to sew buttons by hand.
Step-by-Step Process for Sewing Buttons by Hand
When hand sewing buttons, the process typically involves several steps. First, identify the placement of the button, ensuring alignment with buttonholes or decorative features. Then, using a sharp needle and appropriate thread, begin by pushing the needle from the underside of the fabric to the front, pulling it through the button, and passing it back down through the fabric. Repeat this process several times, making sure to keep the button secure while creating a sturdy stitch pattern. Proper alignment is crucial; follow a consistent method for all your buttons to avoid misalignment.
Common Mistakes to Avoid
While sewing buttons may seem straightforward, it’s easy to make mistakes. A common error is using thread that’s too thick or thin for the button and fabric type. Additionally, neglecting to backstitch can lead to loose buttons over time. Always double-check your stitches and ensure you’re using the right needle size for your fabric. Finally, avoid sewing the button overly tight, which can cause puckering in the fabric around the button.
Choosing the Right Thread Types for Sewing
Selecting the right type of thread is an essential part of the sewing process. For most button sewing tasks, polyester or cotton threads provide excellent durability and flexibility. Polyester thread is particularly beneficial for garments that will undergo repeated washing and wear, while cotton offers a more natural finish for crafts and home decor projects. When in doubt, opt for a thread that matches your fabric in both color and weight for a seamless look.
How to Reinforce Buttons Quickly
Reinforcing buttons is vital to ensure their longevity, especially in high-stress applications like jeans or children’s clothing. A quick hack involves applying a few extra stitches in a crisscross pattern over the button while sewing it on. This not only secures it further but can also add an attractive detail, enhancing the visual appeal of the garment. Another technique includes using a small piece of fabric or interfacing behind the button to provide extra support and stability.
Machine Sewing Buttons for Efficiency
Machine sewing buttons can save time, especially for those looking to sew buttons on multiple garments. This section will outline effective methods and tips for using a sewing machine.
Setting Up Your Sewing Machine for Button Sewing
To ensure a successful machine sewing project, begin by setting your sewing machine to a straight stitch or a zigzag stitch, depending on your fabric. Remember to use a button foot if your machine has one; this specialized foot helps guide the fabric and button through the machine, providing better precision. Adjust the needle position to ensure the buttonholes align perfectly with your stitch patterns.
Buttonhole Techniques for Different Fabric Types
Creating a buttonhole correctly can enhance both functionality and aesthetics. Depending on the fabric type, use different buttonhole techniques. For heavier fabrics like denim, consider using a thicker thread and a more robust stitch settings. For lighter fabrics such as cotton or jersey, a simple zigzag stitch may suffice. Always test your buttonhole on a scrap piece of fabric to ensure it matches your button perfectly with no gaping or loose stitching.
Tips for Attaching Buttons Securely
When machine sewing buttons, ensure that each button is attached securely by reinforcing your stitches. You can do this by sewing back and forth over the same stitches multiple times. This practice is especially important for buttons that will face frequent use. If your machine allows, set the stitch length longer for added security, as this can help the stitch grip more firmly into the fabric.
Understanding Button Placement Tips
Proper button placement can enhance the functionality and aesthetics of your garments. This section discusses how to achieve perfect button placements.
Perfect Button Placement for Various Clothing Types
When placing buttons, consider the type of clothing being sewn. For shirts, buttons should line up with the center front for symmetry. Meanwhile, trousers might require buttons placed strategically for ease of movement. Use a measuring tape to identify exact placement that provides the best fit and look. Moreover, test the placement by trying the garment on with buttons pinned in place before sewing.
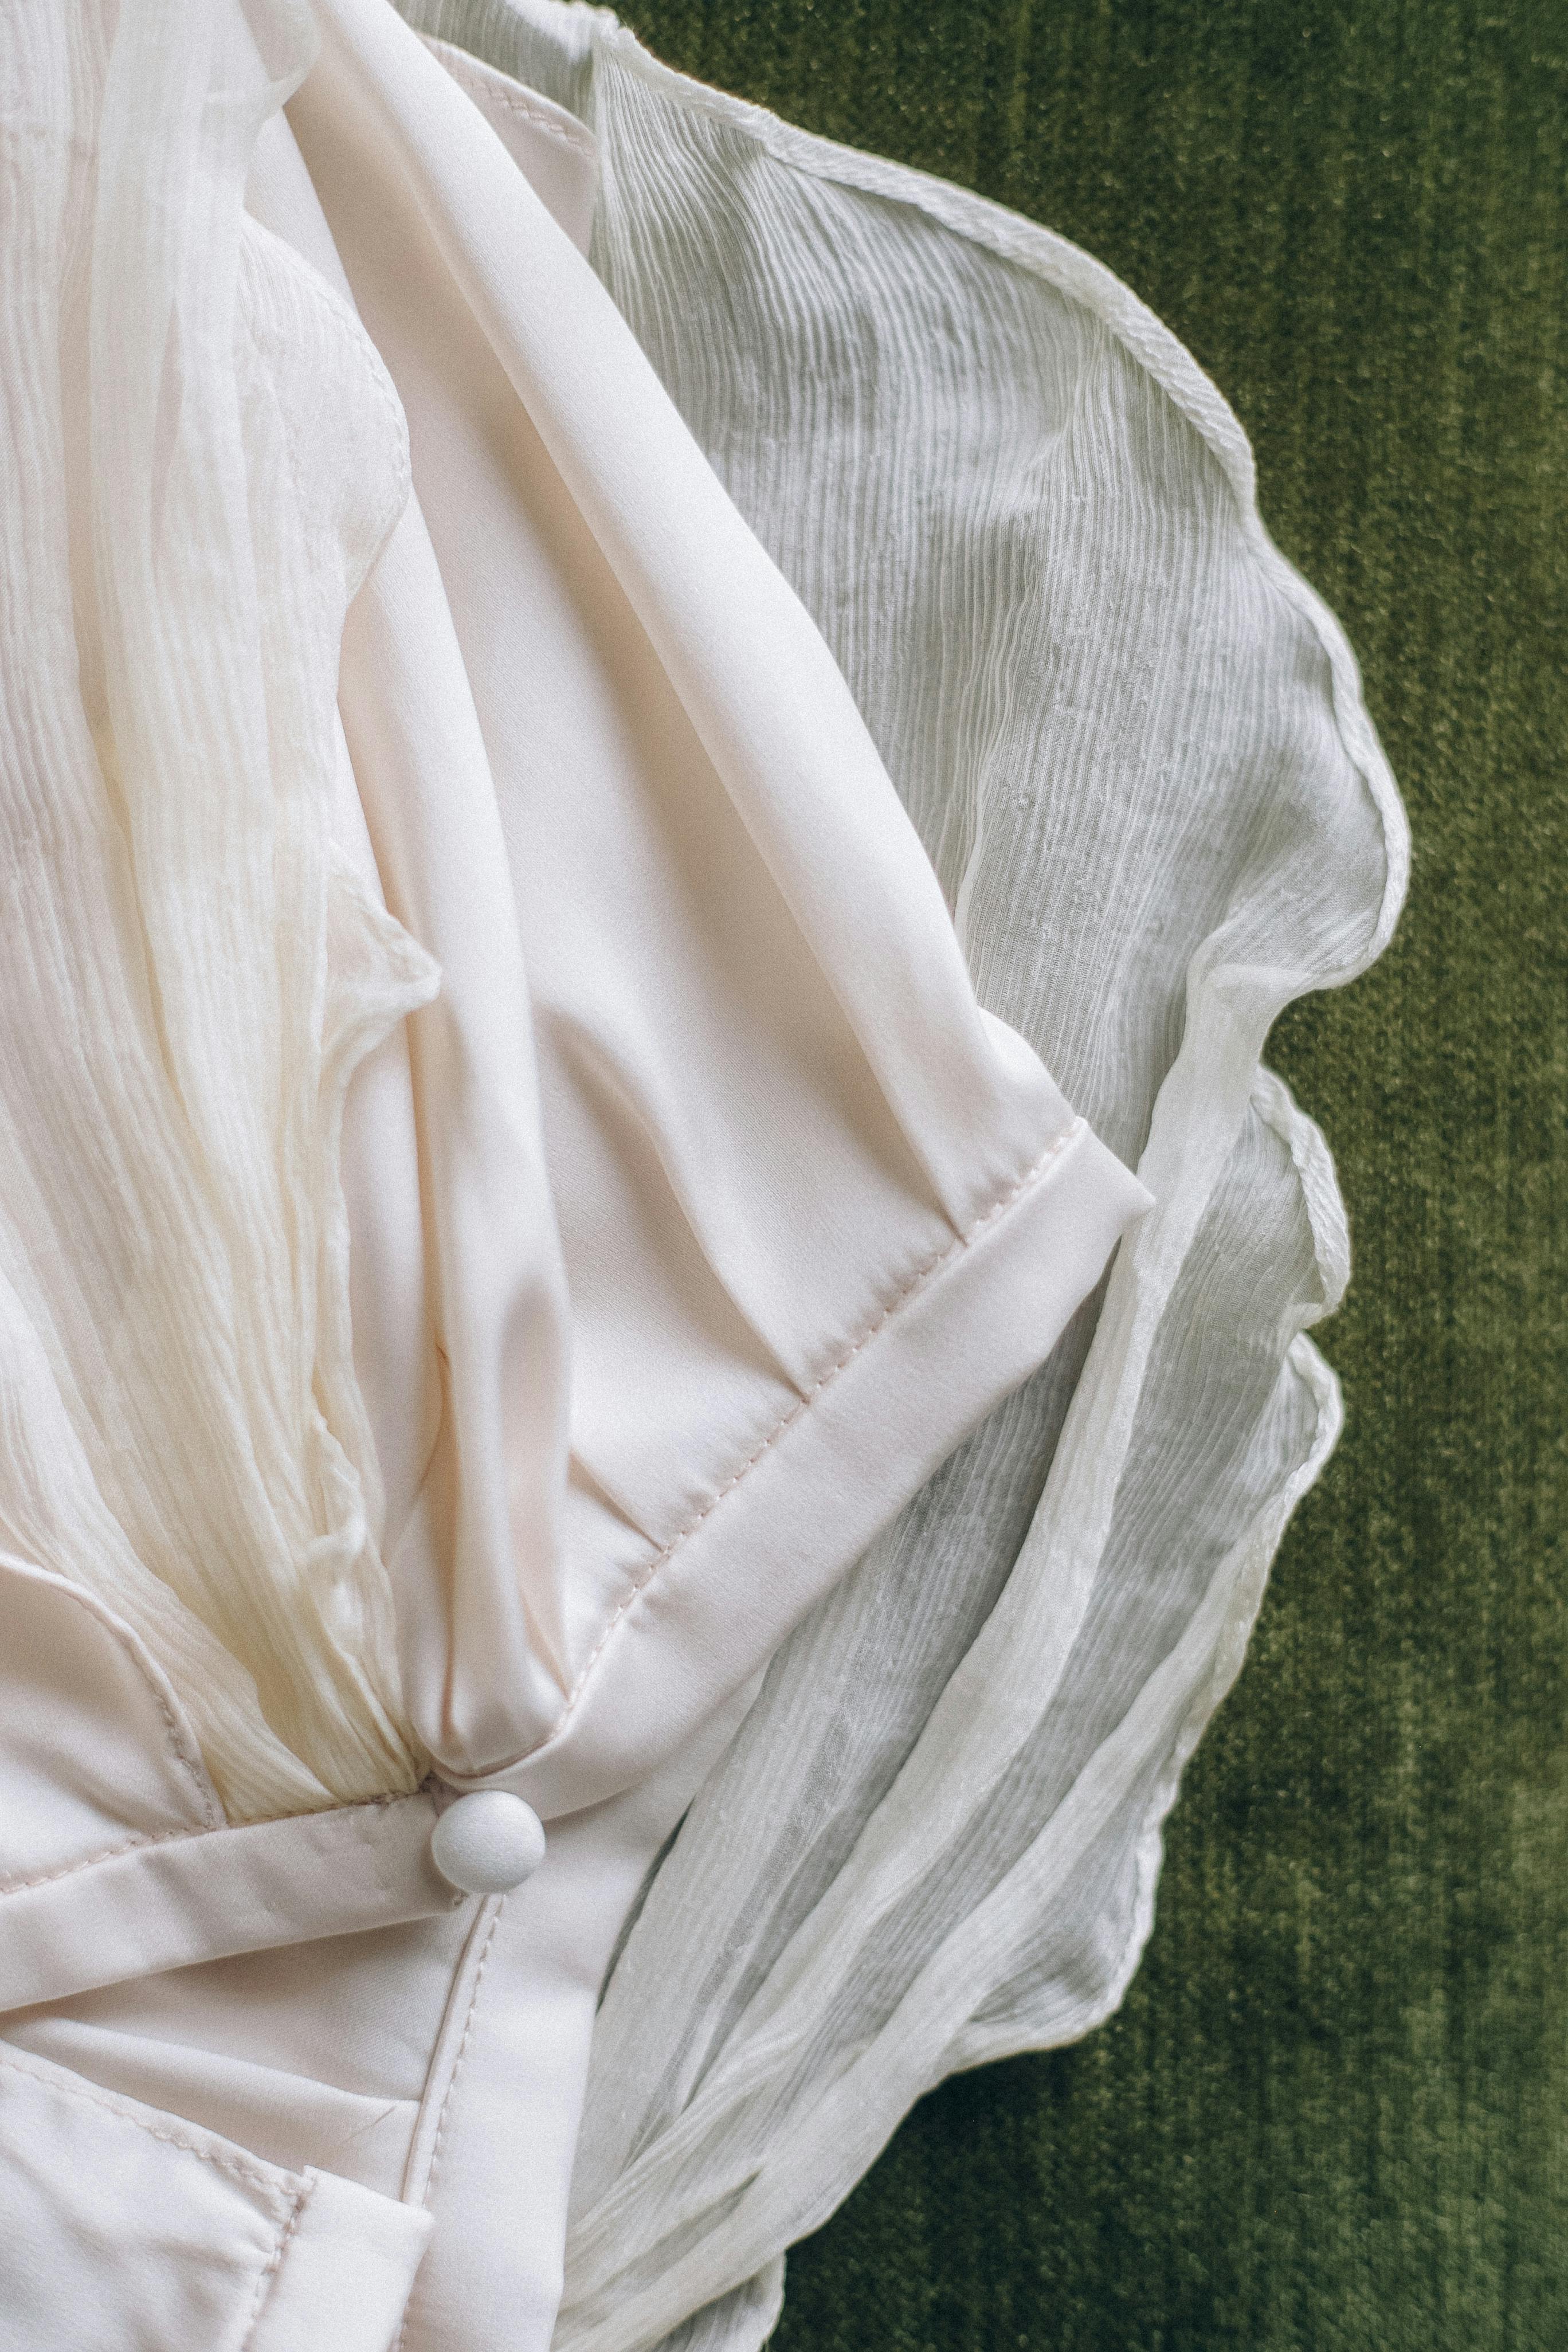
Customizing Button Styles for Your Projects
Customizing button styles can greatly improve your project’s overall appeal. Consider integrating decorative buttons or unique designs that enhance the look of the garment. Specialty buttons, such as shank buttons or decorative options, can add flair while maintaining functionality. Experimenting with different button sizes and styles can make a significant impact, allowing for personalization in every piece.
Common Practices for Sewing Buttons Neatly
Neat sewing practice is essential for a polished finish. Always stitch from the underside of the fabric to hide loose threads and toggles. Invest in quality sewing supplies and practice your technique to keep your stitches even. Furthermore, keeping your workspace organized with essential tools such as pins, scissors, and measuring tapes can streamline the button sewing process.
Crafting with Buttons: Beyond Just Clothes
Buttons can be a fantastic element in various crafting projects, providing versatility and creativity. This section uncovers ways to integrate buttons into DIY creations.
Unique Button Designs for Crafts
Incorporating unique button designs adds character to your crafts. Explore using vintage buttons, brightly colored options, or even seasonal designs. Each button can reflect your personality and add a special touch to creations such as home decor items, greeting cards, or even accessories like bags. The key is to choose buttons that complement the overall theme and color scheme of your projects.
Creating Button Art and Embellishments
Using buttons for art is a fun and imaginative way to explore your creativity. Consider creating button collages, artwork with button shapes, or whimsical patterns for wall decor. Embellishing items such as blankets, frames, or hats can elevate your project. Ensure to use a strong adhesive or reinforce with stitches to keep the buttons intact over time, especially if items are to be washed or handled frequently.
Learning through Button Craft Projects
Button craft projects can also be an educational tool, especially for beginners learning basic sewing skills. Activities such as sewing buttons onto fabric swatches allow practice in a low-pressure environment. Workshops and sewing classes can also incorporate button projects to refine techniques while fostering a collaborative and supportive learning atmosphere.
Q&A Section: Common Questions About Sewing Buttons
What type of needle should I use for sewing buttons?
Choosing the right needle is crucial for effective button sewing. Typically, a universal needle works well for most fabrics, while a thicker needle may be required for heavier fabrics like denim. Always ensure your needle is sharp and in good condition to prevent fabric damage.
How do I fix a broken buttonhole?
Repairing a broken buttonhole can be accomplished by reinforcing the area with a small piece of interfacing or fabric behind the hole. Use a zigzag stitch to recreate the hole edges securely. If it’s excessively damaged, you may want to consider sewing a new buttonhole entirely.
What are the best practices for sewing buttons on jeans?
When sewing buttons on jeans, it’s essential to reinforce them well. Use a heavy-duty thread and a strong needle, ensuring you sew through all layers of fabric for maximum security. It’s often helpful to apply a bit of fabric glue to the underside before sewing for extra hold.
With these insights, you’ll be well-equipped to tackle button sewing projects, making your garments functional and stylish. Whether you’re machine sewing or opting for hand techniques, remembering to practice these tips will ensure your buttons stay secure for years to come.