Best 5 Ways to Make Clay at Home for a Perfect Crafting Experience in 2025
As the world embraces DIY culture, clay crafting continues to gain popularity among hobbyists and crafters alike. Understanding how to make clay at home can unleash your creativity and provide a fulfilling crafting experience. This article will guide you through the clay making process, showcasing the best homemade options available in 2025. Discover the essential ingredients for clay, and learn how to create an ideal crafting medium that works perfectly for pottery, sculpting, and artistic expression.
The benefits of crafting with clay are numerous, from providing therapeutic relief to enhancing children’s creativity. Whether you’re looking to make air-dry clay or explore polymer clay, you’ll find an easy-to-follow guide here. So, let’s dive into the top five methods to create your own clay at home!
Essential Ingredients for Homemade Clay
Building on our introduction to making clay at home, it’s crucial to start with the right ingredients. The type of clay you wish to create often dictates the components required, but most recipes rely on a few common staples.
Basic Components of Clay
Most clay recipes include flour, salt, and water. These ingredients are easy to find in your kitchen pantry and provide a sturdy yet pliable medium for crafting. For air-dry clay, some recipes also call for cornstarch and cream of tartar, ensuring your clay remains flexible while drying.
Natural Additives for Strength
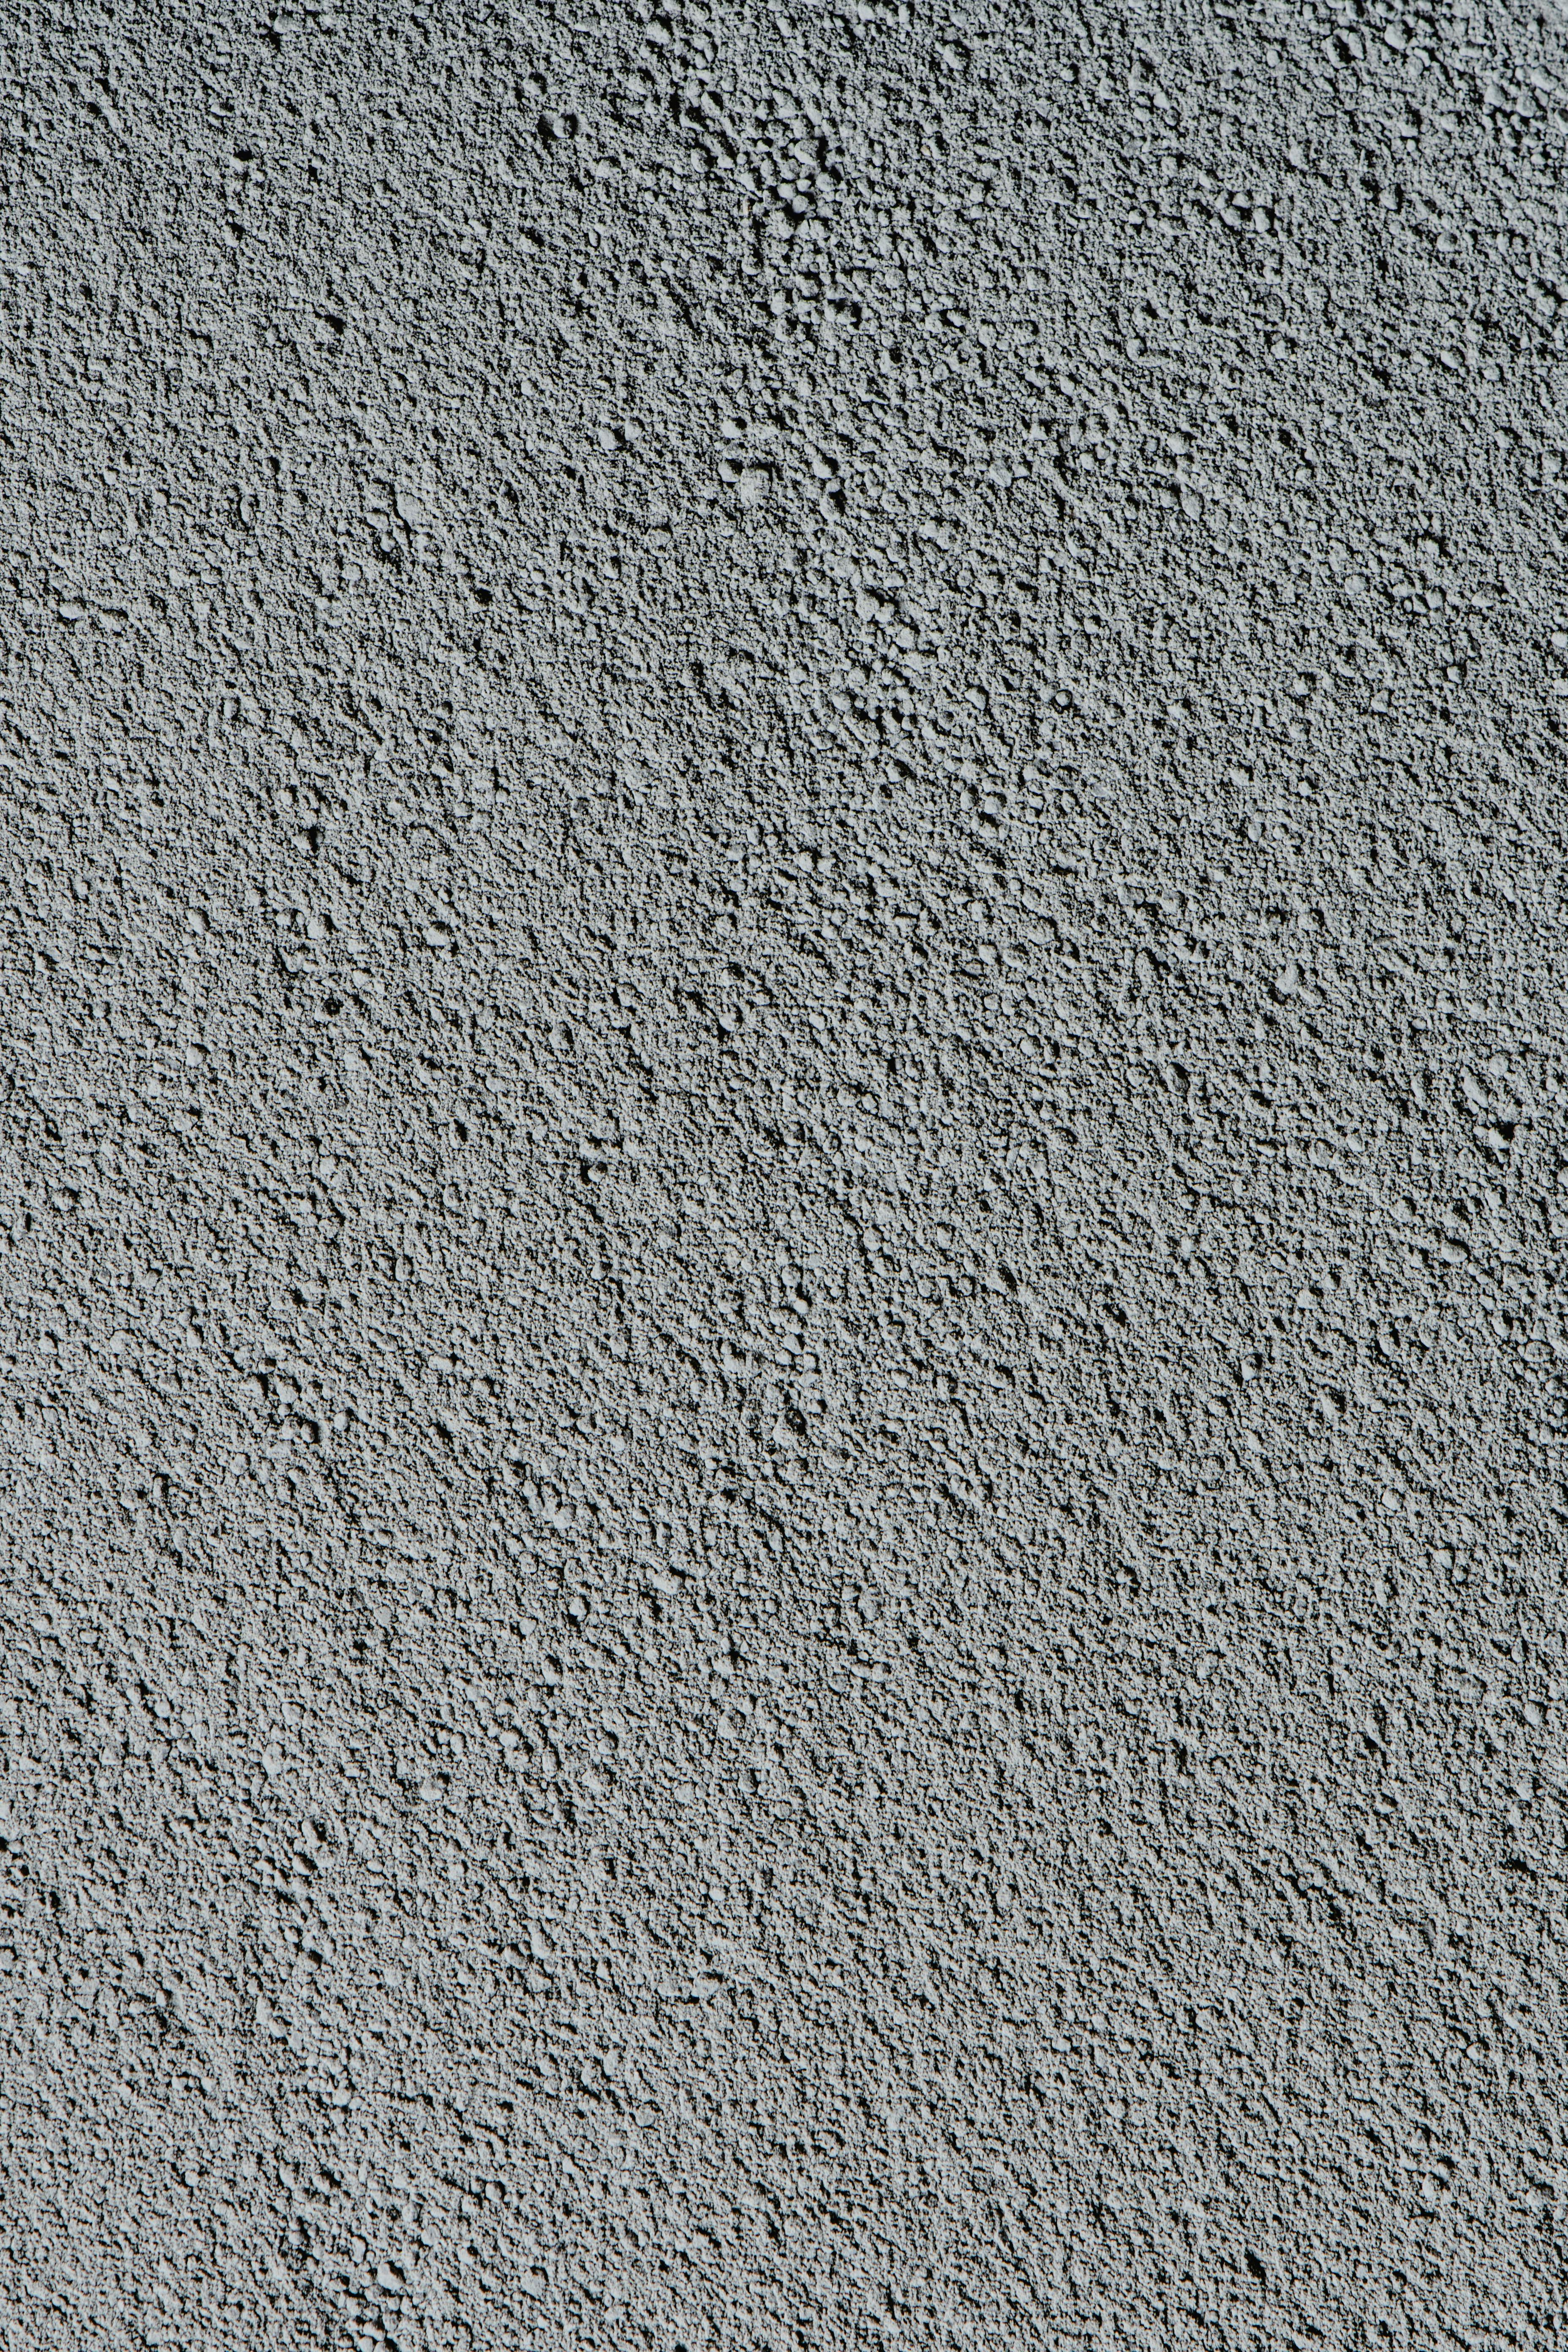
To enhance the properties of your homemade clay, consider adding natural materials like sand or sawdust. These can provide a textured look and increase the clay’s strength, making it ideal for sculptural projects.
Coloring Your Clay
If you’re looking to add vibrancy to your clay, mixing in food coloring or natural dyes during the kneading process can provide beautiful hues. This simplicity allows for a variety of projects without the need for paint, making it a safe option for children.
How to Create Air-Dry Clay at Home
With the right ingredients at hand, let’s explore a popular type of homemade clay: air-dry clay. This no-fuss option is not only easy to create but also does not require baking.
Step-by-Step Air-Dry Clay Recipe
1. Combine 2 cups of flour, 1 cup of salt, and 2 cups of water in a mixing bowl.
2. Stir the mixture until smooth, ensuring there are no lumps. If desired, add a tablespoon of vegetable oil for added pliability.
3. Transfer the mixture to a pot and heat on low, stirring continuously until it thickens and forms a ball.
4. Allow the clay to cool, then knead it for several minutes until it reaches a smooth consistency.
Working with Air-Dry Clay
This type of clay is perfect for crafting projects like ornaments or decorative sculptures. Since it dries without heat, it’s an excellent choice for kids to engage in hands-on creativity. Simply shape your designs and let them air dry for 24-48 hours.
Sealing Your Projects
To protect your creations, consider sealing the dried clay with a non-toxic acrylic sealer. This will help preserve the color and finish, ensuring your projects last a long time.
The Versatility of Polymer Clay
Transitioning from air-dry options, let’s delve into polymer clay—a favorite among crafters for its variety and adaptability. Understanding polymer clay will provide you with an alternative crafting medium that can be highly beneficial for detailed projects.
Advantages of Polymer Clay
Unlike air-dry clay, polymer clay requires baking to set. This method allows for incredibly intricate designs that can withstand the test of time. It’s also versatile, available in numerous colors, and allows for blending to create custom shades.
Creating with Polymer Clay
To work with polymer clay, start by conditioning and kneading it until soft. Use it to create small sculptures, charms, or unique jewelry pieces. Remember to follow the specific baking instructions on the packaging to harden your creations properly.
Understanding Clay Finesse
Before baking, ensure that your designs are smooth and free from fingerprints. Using tools such as clay extruders and texture sheets can elevate your craftsmanship, allowing you to create professional-looking pieces.
Crafting with Natural Clay
Connected to the earlier discussions of clay types, let’s explore the world of natural clay. This option not only connects you to traditional methods used by artisans for centuries but also allows for a unique crafting experience.
Types of Natural Clay for Pottery
Natural clay comes in various forms, including earthenware, stoneware, and porcelain. Each type has its characteristics and suitability depending on the project, especially for pottery.
Working with Raw Clay Materials
When crafting with natural clay, it’s crucial to prepare it properly. Start by wedging the clay to remove air bubbles and create an even consistency. This process ensures that your clay will perform superbly during shaping and firing.
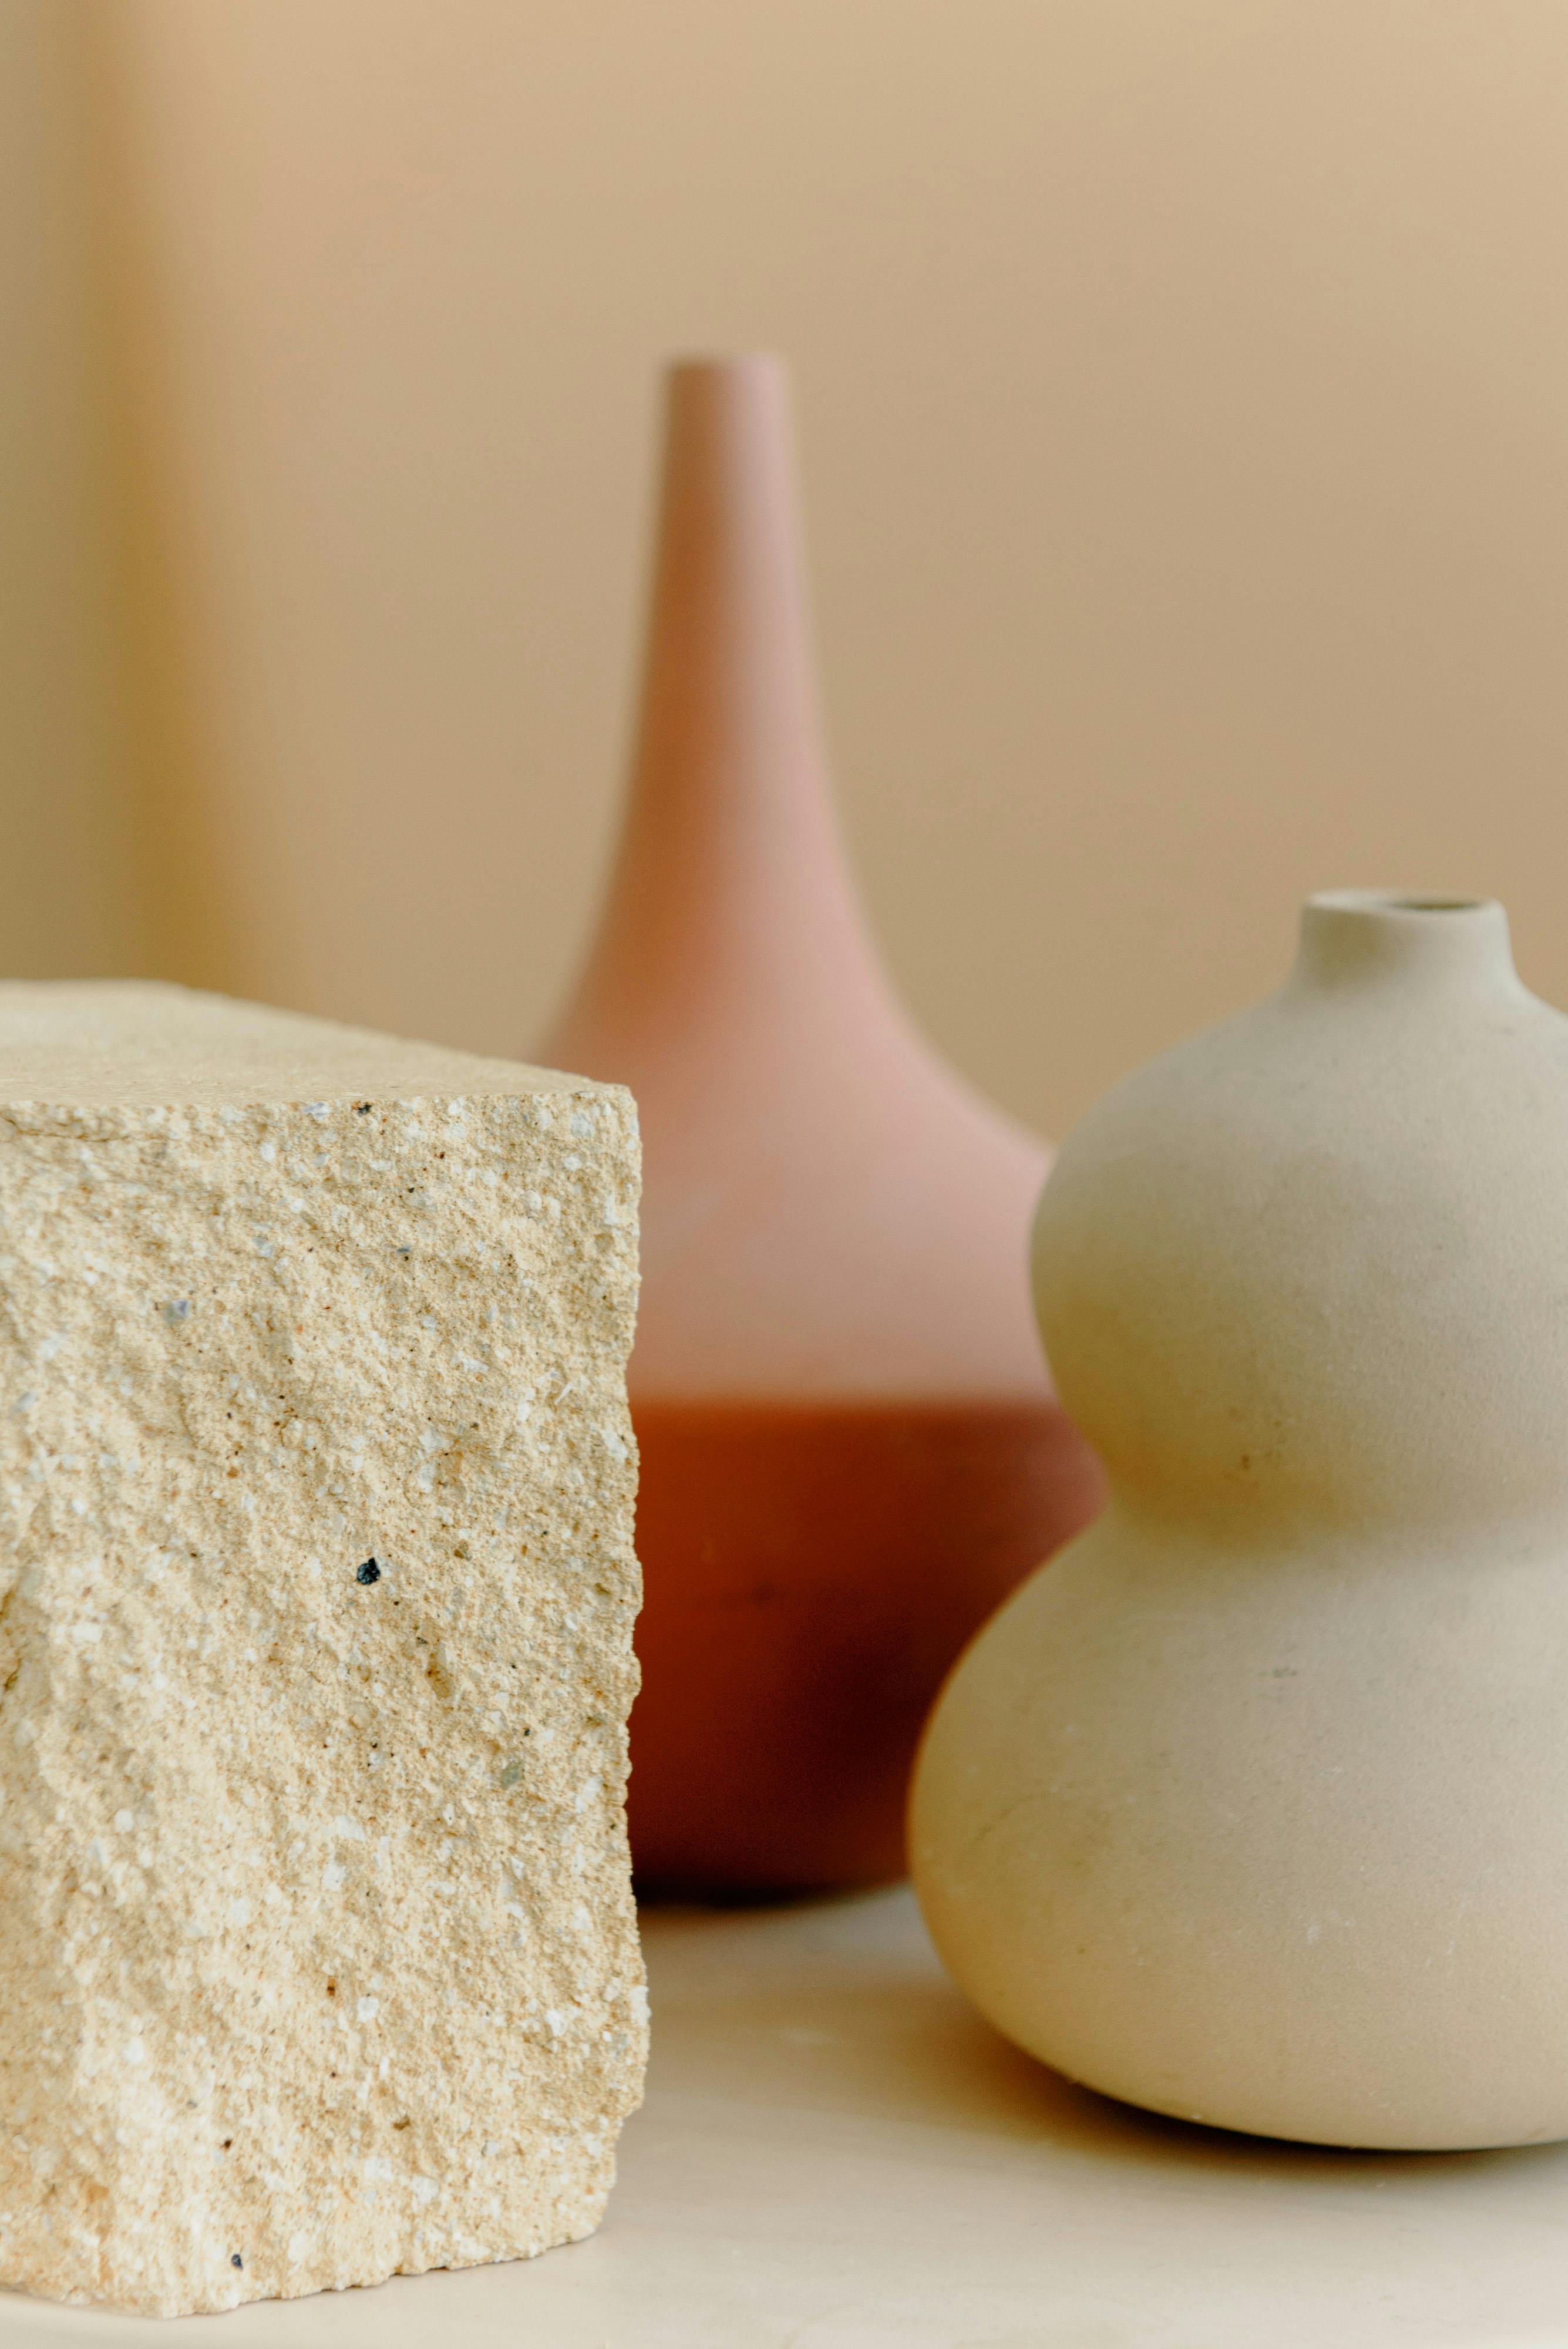
Creating Unique Sculptures with Natural Clay
Natural clay allows for endless creativity with raw materials. Think about incorporating natural textures or using local clay mixed with essential additives to achieve different effects in your projects.
Popular Clay Crafting Techniques
Now that you have the basics down, let’s explore some popular clay crafting techniques that can enhance your artistic expressions.
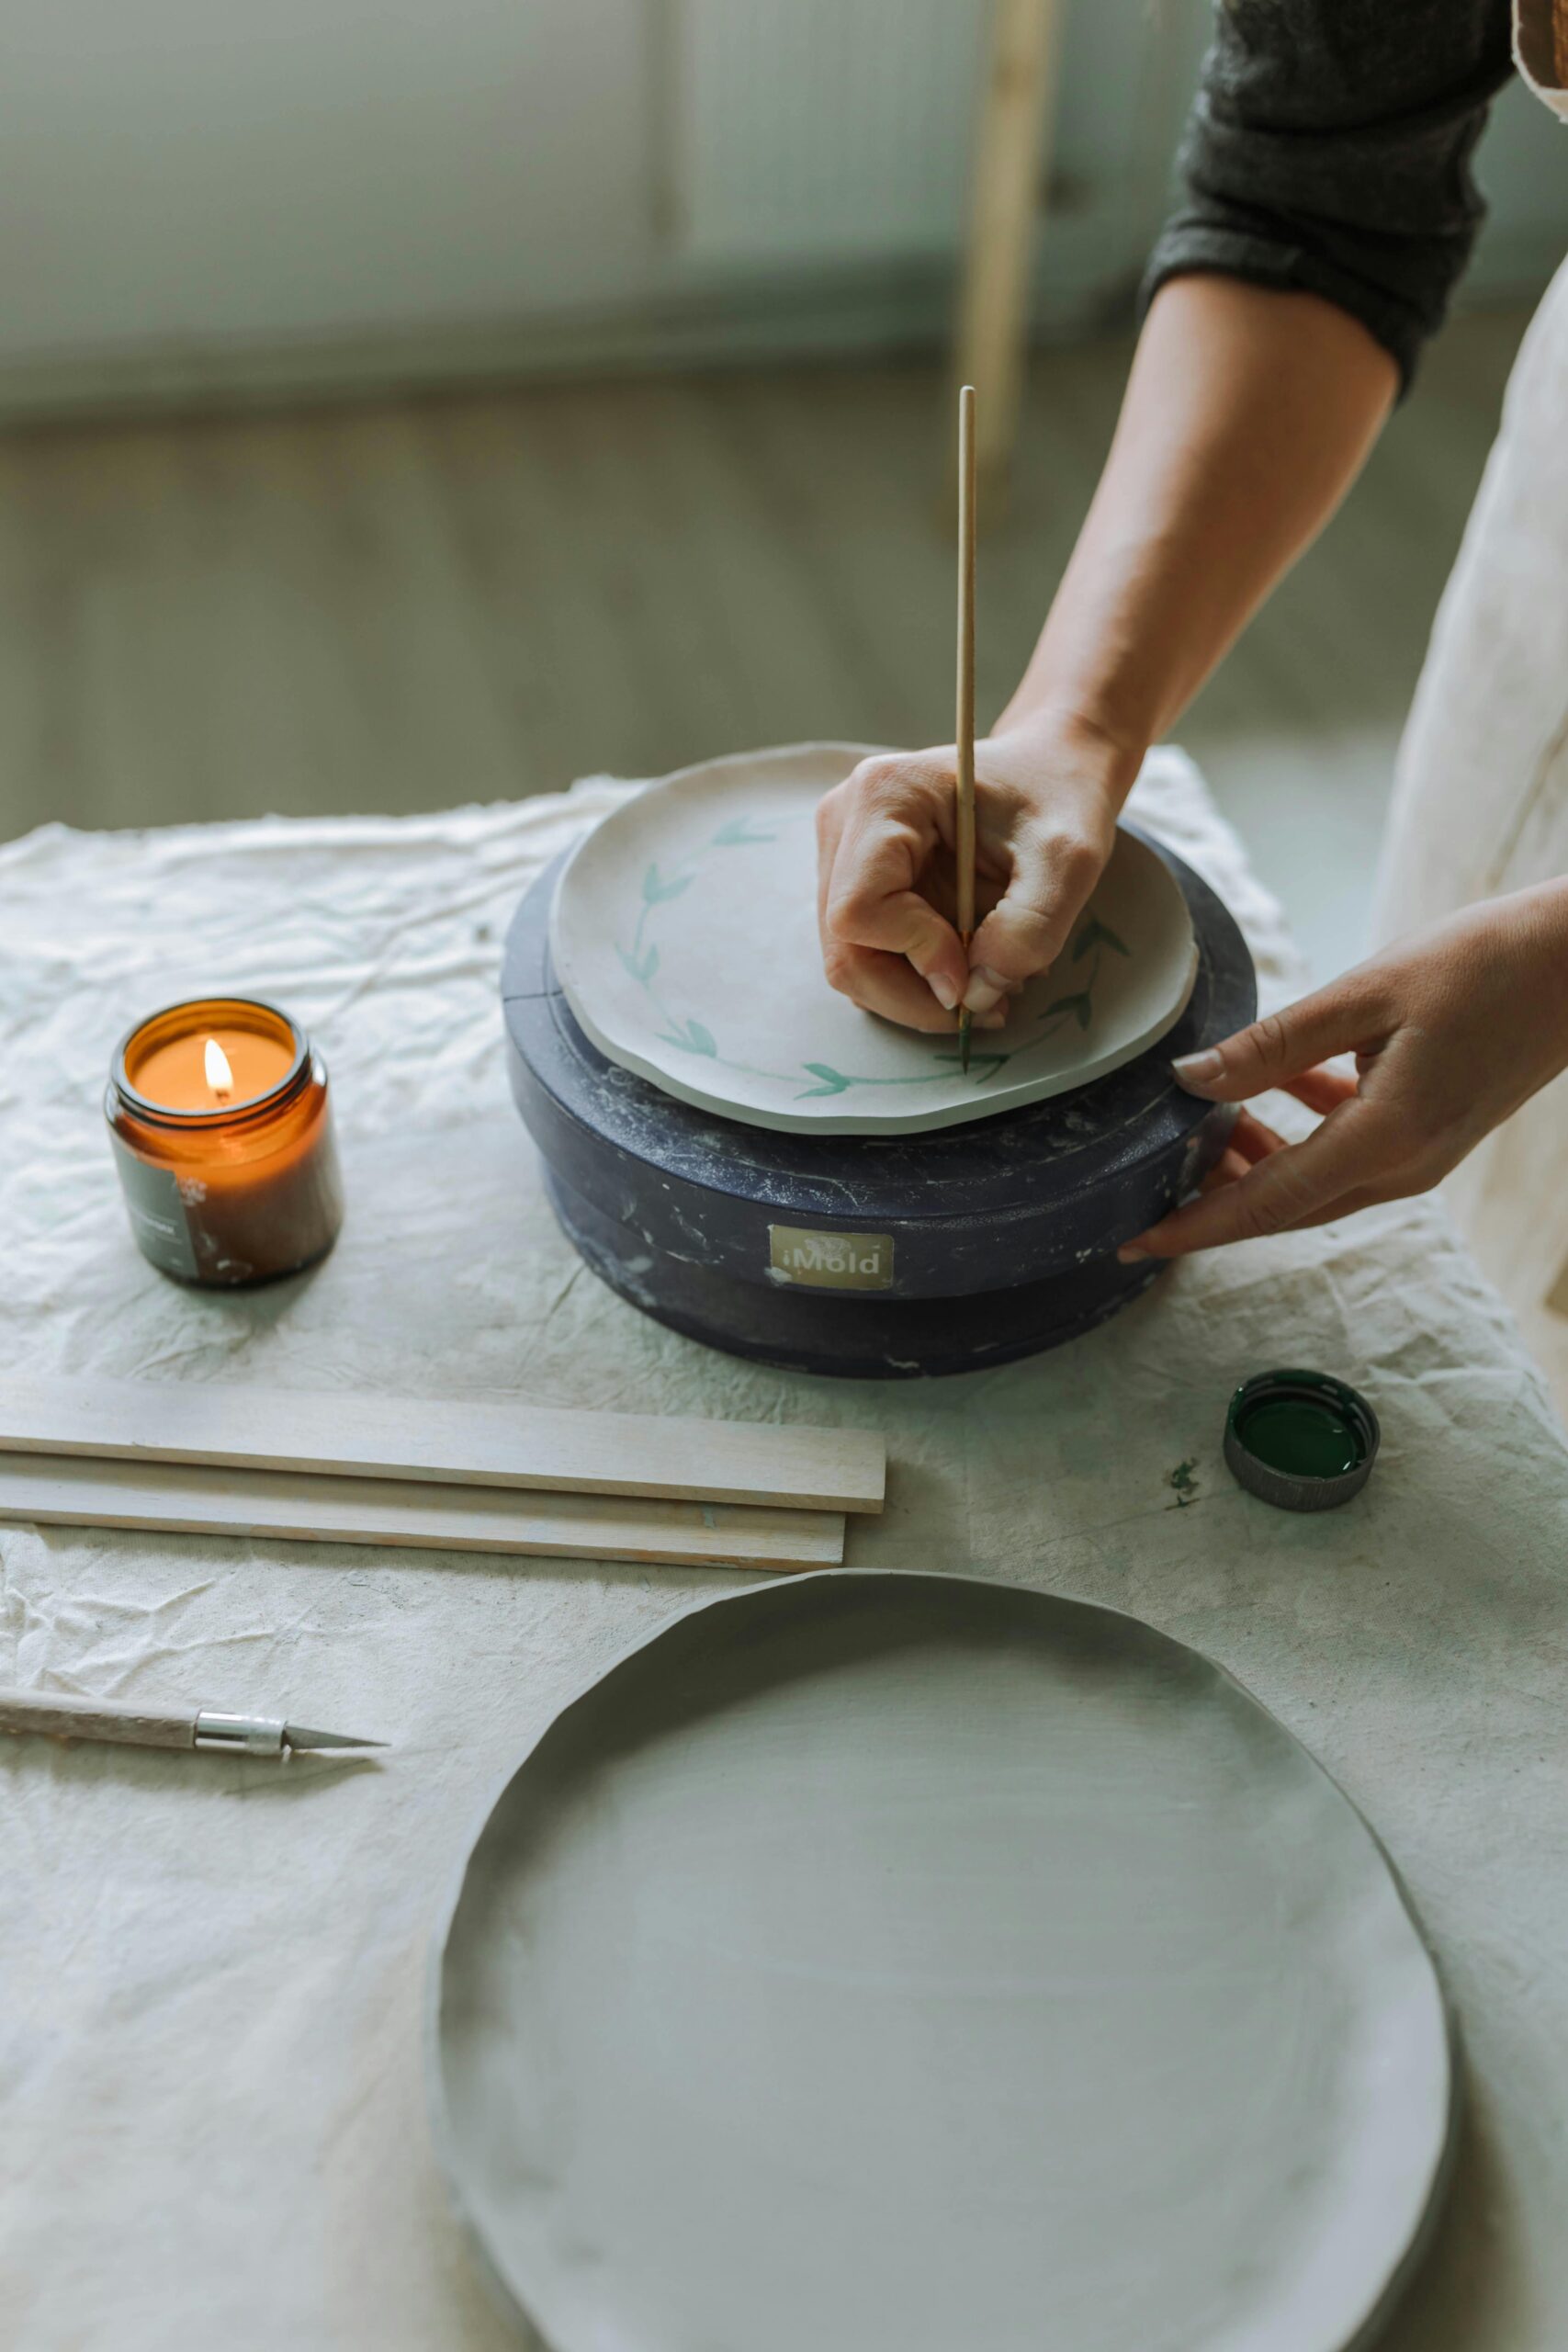
Using Molds with Clay
Molds are an excellent way to create consistent shapes and designs. With an array of molds available, or even making your own, you can easily replicate intricate designs, enhancing your project outcomes.
Experimenting with Clay Patterns
Patterns add a unique dimension to your crafts when using clay. Incorporating methods like stamping or impressing can lead to delightful results that are both attractive and personal.
Advanced Clay Shaping Techniques
As you gain experience, explore more advanced shaping techniques like coiling or pinch methods to build up shapes from the base. These techniques will broaden your clay crafting skills and lead to more impressive projects.
Conclusion: Embracing the Art of Clay
Whether you’re crafting with air-dry clay, polymer clay, or natural clay, understanding how to make clay at home opens oppurtunities for creativity and relaxation. While we’ve covered the basics of ingredient preparation, some of the best clay for sculpture, and practical crafting techniques, your journey in clay crafting is only just beginning. Don’t hesitate to experiment, learn from your clay interactions, and create unique pieces full of personal expression. With the increase in access to clay tools and materials, and with safety tips guiding your plans, there’s no better time to dive into the wonderful world of clay!
For more inspiration and methods, check out this resource on clay crafting ideas or explore additional techniques to enhance your projects.