Smart Ways to Screenshot on Windows
Capturing your screen is an essential skill whether for personal use, tutoring, or documenting software issues. Learning how to take a screenshot on Windows has become increasingly important, especially with Windows 10 and Windows 11 offering various methods and tools for capturing your desktop. In this article, we’ll explore various techniques to take screenshots that suit different needs and preferences.
Using Built-in Screenshot Tools in Windows
Windows offers several built-in tools that make it easy to capture whatever’s on your screen. The most versatile of these tools is the *Snipping Tool*, specifically designed for **screenshotting on Windows**. This tool allows for flexible capture options: full screen, window, rectangle, or free-form snip. By using the Snipping Tool, you can easily **edit screenshots** by annotating, cropping, or highlighting your desired area before saving. For Windows 10 users, basic functionalities are baked into the **screenshot options Windows**, while Windows 11 enhances these features, integrating them more seamlessly into the operating system.
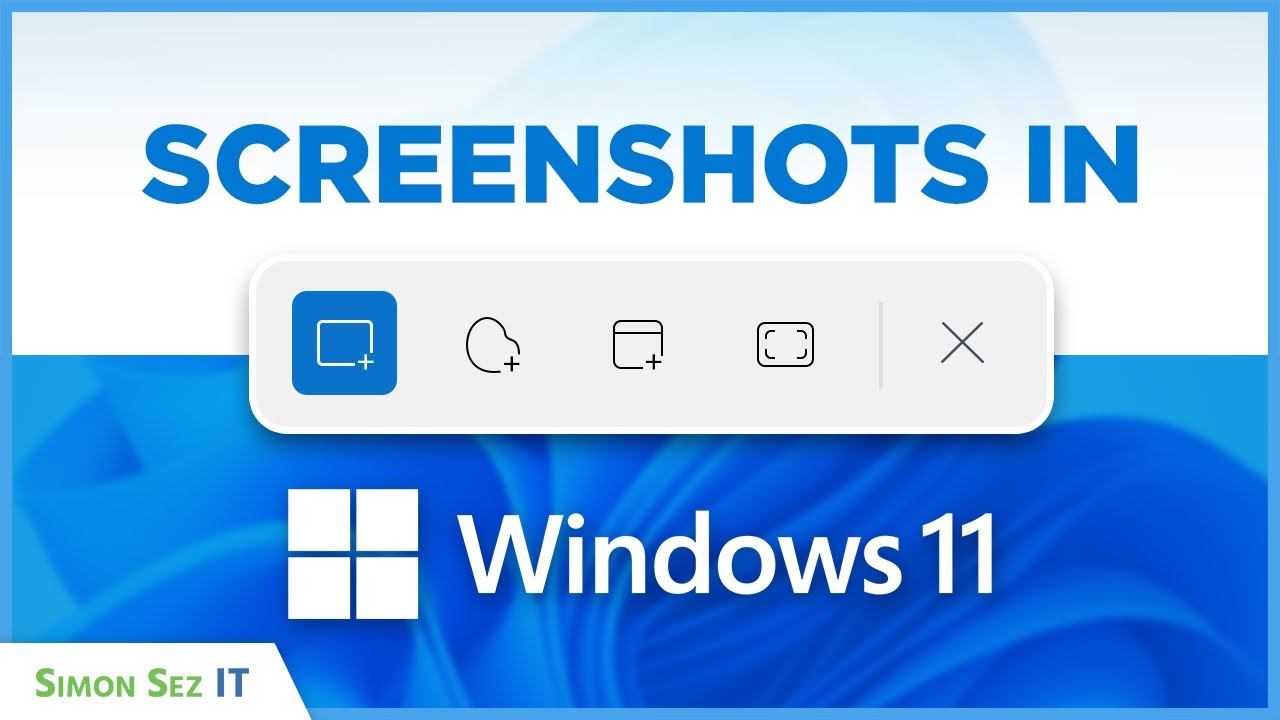
Accessing the Snipping Tool
In Windows 10, the Snipping Tool can be found by searching “Snipping Tool” in the Start menu. For Windows 11 users, the tool is now merged with the Snip & Sketch feature; simply press Windows + Shift + S to activate it. After selecting the screen area, the image is copied to your clipboard, allowing you to paste it into other applications or edit it directly. This is a practical method for **capturing screenshots for guides** or documentation.
Launching Screenshot Options via Keyboard Shortcuts
Another effective way of taking screenshots on Windows is through keyboard shortcuts. Simple commands like PrtSc, Windows + PrtSc, and Alt + PrtSc will allow you to save full screen or active window screenshots directly to your *Pictures/Screenshots* folder. Each shortcut serves different scenarios, ideal for anyone who prefers efficiency. Availing yourself of keyboard shortcuts is fundamental for professionals documenting processes, as they provide quick access to **screen capture methods Windows**.
Adjusting Screenshot Settings in Windows
To optimize your **screenshot settings Windows**, explore the Snipping Tool options. You can set a delay for your captures, useful for situations where you need time to get ready. Moreover, customizing the screen capture techniques allows you to have specific outcomes tailored to your workflow. For instance, taking partial screenshots to focus on specific sections can significantly improve clarity, particularly when sharing information or creating visuals for **screenshots for tutorials**.
Exploring Third-Party Screenshot Applications
While Windows’ built-in tools are quite powerful, third-party applications can provide even more functionality. For instance, programs like Greenshot, Snagit, or Lightshot offer advanced options like customizable shortcuts, cloud upload features, and robust editing tools. Enabling these applications maximizes your capabilities, thus making your workflow seamless when you encounter frequent needs to **capture screen Windows**.
Comparative Analysis of Best Screenshot Tools for Windows
Among the best screenshot tools for Windows, Greenshot excels at providing users straightforward ways to capture their screen, while Snagit incorporates more complex features like video capturing alongside image snapshots. Lightshot, on the other hand, focuses on fast uploads and easy sharing. Choosing the right tool requires understanding your **screenshot options Windows** and evaluating what best suits your process. Each of these applications boasts user-friendly interfaces to enhance their utility and resolution quality in images captured.
Using Screenshot Applications Effectively
Choosing **the best screenshot software Windows** involves reviewing deployment options and capabilities. Lightweight applications, like Lightshot, require minimal resources and can be installed in a few clicks. Comb through the functions each provides, particularly looking for image formats supported and if there are options for annotations. The more robust features found in download applications might include cloud storage, which helps you save and share screenshots instantly, making it easier for **sharing screenshots online** efficiently.
Advanced Techniques for Capturing Screenshots
For those looking to further enhance their methods of **taking screenshots on Windows**, advanced techniques can significantly diversify your capturing methods. Whether you need to take scrolling screenshots, annotate them, or create full-page captures, Windows 11’s enhanced tools and third-party options provide the flexibility required.
Capturing Scrolling Screenshots
If you need to capture content that requires scrolling, using tools like ShareX or Snagit becomes essential. These programs can create a continuous scroll capture, essential for tutorials or documenting lengthy content. Users can take advantage of `ShareX`’s scrolling capture feature to grab entire web pages or files rather than just a visible section, ideal for **screenshot dimensions** that adapt to documentation needs.
Editing and Annotating Screenshots
After capturing screenshots, editing is critical to emphasize certain elements, mark up important features, or add text. Tools like Snip & Sketch provide basic editing features like cropping, drawing, and annotating directly on your screenshot without needing external software. It’s quite convenient and productive for teaching or creating visual content. To utilize these effectively, ensure your app supports quick access to editing tools right after you take the screenshot.
Implementing Screenshotting in Feedback and Tutorials
Creating detailed guides or tutorials must include clearly annotated screenshots to ensure the audience comprehensively understands each step. Utilize specific software to highlight areas promptly, distinguish buttons, and draw attention to icons. Using **screenshots for tutorials** within effective projects enables your guides to be visually appealing, securing your audience’s attention and understanding.
Final Thoughts on Mastering Screenshot Techniques
Mastering how to take a screenshot on Windows involves exploring and utilizing the plethora of options available. From built-in tools like Snipping Tool or keyboard shortcuts to third-party applications, an array of choices allows you to tailor your screenshotting process based on your specific needs and preferences. Going beyond just capturing the screen, these methods enhance presentation and communication across various contexts.
Key Takeaways
- Explore built-in tools like Snipping Tool to capture versatile screenshots.
- Use keyboard shortcuts for efficient screenshotting on Windows.
- Consider third-party applications for advanced editing and capturing scrolling images.
- Annotate and edit screenshots for creating effective tutorials and documentation.
- Always adapt your methods to suit your specific needs for capturing and sharing images.
FAQ
1. How to save a screenshot directly using keyboard shortcuts in Windows?
You can save a screenshot directly by pressing Windows + PrtSc. This captures your entire screen and saves it to the *Pictures/Screenshots* folder automatically. For capturing specific windows, use Alt + PrtSc to copy it to your clipboard, which you can then paste into a document or image editor.
2. What is the difference between Snipping Tool and Snip & Sketch?
Snipping Tool allows for various types of screenshots (free-form, rectangular, window, full-screen), while Snip & Sketch integrates editing functionalities immediately after taking a screenshot. Snip & Sketch offers annotations, cropping, and other post-capture options, making it more versatile for quick edits.
3. Can I take a scrolling screenshot in Windows 10 or 11?
Windows does not provide a built-in function for scrolling screenshots. However, third-party applications like Snagit or ShareX include features that allow users to capture scrolling content seamlessly.
4. How to annotate a screenshot taken using Snipping Tool?
After taking a screenshot with Snipping Tool, open it, and utilize the ‘pen’ or ‘highlighter’ function to draw directly on the image. You can save the annotated image afterward to retain your edits.
5. Are there apps for taking screenshots instead of using Windows tools?
Yes, there are several excellent applications for taking screenshots on Windows, including Greenshot, Lightshot, and Snagit. These apps often have advanced editing options, customizable shortcuts, and seamless sharing capabilities, catering to users needing more than basic screenshot functionality.
6. How do I take a screenshot without using the Print Screen button?
Besides the Print Screen button, you can use tools like Snipping Tool, Snip & Sketch, or third-party software to capture your screen. Additionally, pressing Windows + Shift + S will initiate Snip & Sketch to select a specific area for your screenshot.
7. Where can I find captured screenshots on Windows?
By default, screenshots taken with the Print Screen button are saved automatically to the *Pictures/Screenshots* folder. If using other software, the destination might vary; check the software settings for configured storage locations.